
Golfing At Towanda Golf Club
The Towanda Golf Club golf course is an 18-hole course that is about 6000 yards in length. It is a par 71 course and is open to the public.
To make a Tee time, call the Pro Shop at (570) 265-6222, Ext 1.
Dress Code: Towanda Golf Club is a spikeless facility. All golfers must wear collared shirts.
Scorecard

Towanda Golf Club Reciprocal List
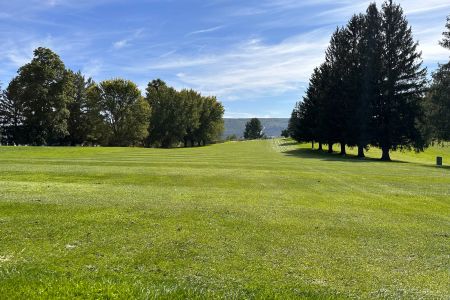
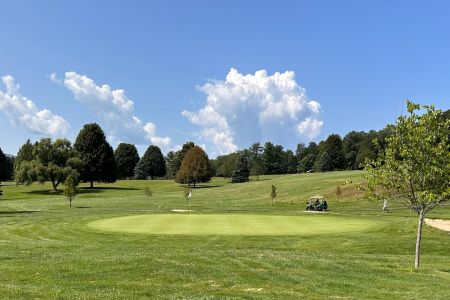
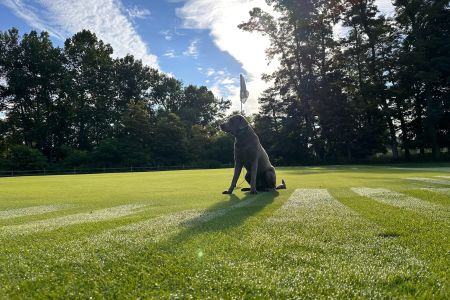
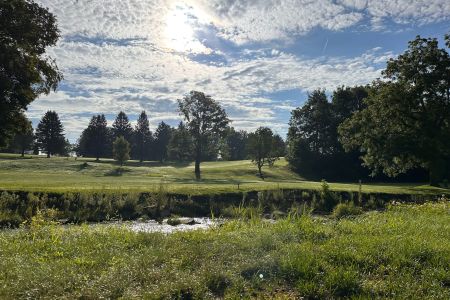
Course Tour
-
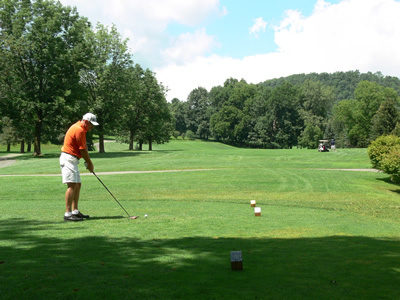
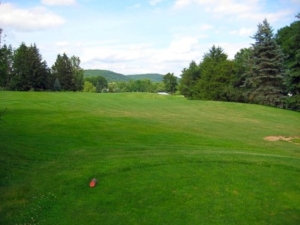
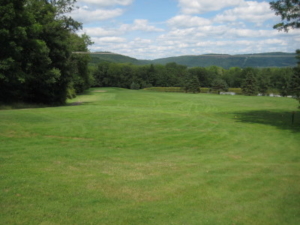
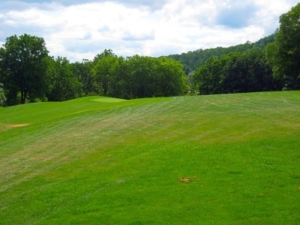
Hole #1 | Par 4
Tally Ho
This short, uphill par 4 seems fairly tame, but watch the pin position flag on the approach shot to this two-tiered green. Any shot short will roll back down the hill so this little hole can show its teeth quickly.
-

Hole #2 | Par 3
Tuf Three
Hit the ball straight from the back elevated tees, for an errant tee shot that will leave a difficult up and down; when on the green, watch how putts “run toward the river”.
-
Hole #3 | Par 4
Hookers Haven
The drive on this dogleg left hole MUST stay to the right of white pole (this is to protect players on #4 green). Loss of distance is the only penalty. Stay to right approaching green.
-
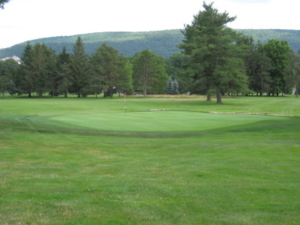
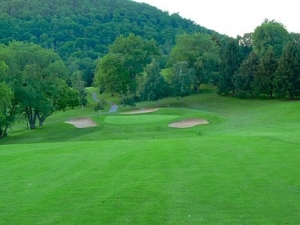
Hole #4 | Par 3
Crow's Nest
If you miss this par 3, miss long and chip back. Anything short will land in the bunker, and the sand shot will be difficult to hold on this green that runs away from the player.
-
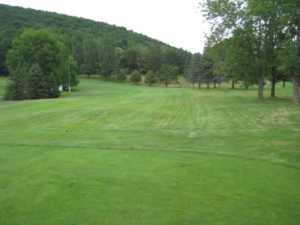
Hole #5 | Par 4
Heartbeat Hill
The hardest hole on the front 9. Use the right bank to help your approach shot to the green. Ideal drive is center or center left leaving a wedge to this postage stamp green.
-

Hole #6 | Par 4
West Side
The straightaway par 4 has woods on right and sand in front. The back and right side of the green drop off sharply-keep your approach shot short and centered.
-
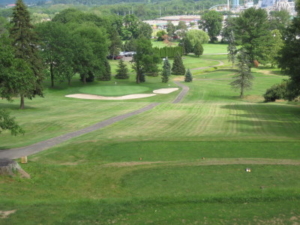
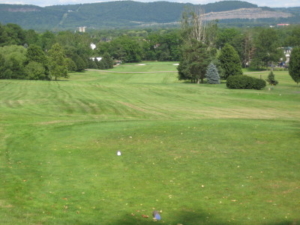
Hole #7 | Par 5
Highway Hazard
Keep your drive left/center on this hole as out-of-bounds stakes line the entire right side along the highway. A good drive sets up a wedge down the hill to a green surrounded by bunkers.
-
Hole #8 | Par 4
Oasis
This slight dogleg right hole seems easy before getting to the green. Keep your approach shot below the hole, as putts can run off the green from the top. Well located approach shots will be rewarded with a birdie opportunity while those that aren't will struggle to 2-putt.
-
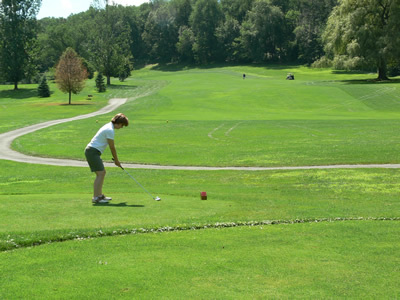
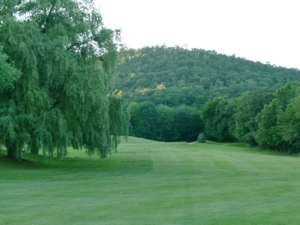
Hole #9 | Par 5
Generation Gap
The longest hole on the course has lateral water hazards on the tee shot, but opens up after that. A good drive allows longer players to go for it in 2, others lay up to their favorite yardage. A good birdie opportunity to close the front 9.
-
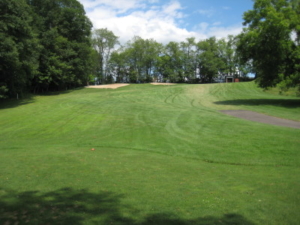
Hole #10 | Par 4
Hidden Pond
This dogleg left hole has a pond on the right and tight approach to a rolling green; the second shot will be off an uphill, sidehill slope testing your control off uneven lies. One of the harder holes on the course, par is a great score.
-
Hole #11 | Par 4
Mountain View
Another dogleg left par 4 opens up after the tee shot; keep shots on the right side of the fairway for a good approach shot, but left of the pond. A good drive leaves another wedge to a small exacting green. Precision is paramount if birdie is in your plans.
-
Hole #12 | Par 4
Gambler's Choice
A driveable par 4 if going over the pond but don't go left as balls will find themselves lost over the hill. If you can do this, birdie or even eagle is a possibility.
-

Hole #13 | Par 4
Devils Den
The TGC signature hole needs a right to left tee shot to bend around the trees and find the fairway. If this is accomplished get ready for a mid-iron uphill to a green with three sections. Par is a great score on the signature hole.
-
Hole #14 | Par 3
Mini-Pitch
A short par 3 with sand in front. It doesn't look like much but distance control is paramount if you want a good birdie look on this turtle back green. Out-of-bounds left and behind green.
-
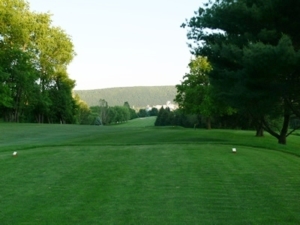
Hole #15 | Par 5
Manor Lane
This slight dogleg right hole opens up after the tee shot; stay out of the trees on the right, and away from the out-of-bounds on the left. One of the largest greens on the course sets the player up with a good birdie opportunity.
-
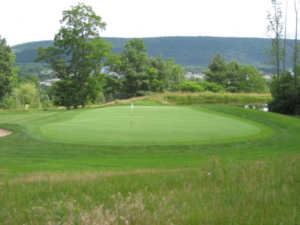
Hole #16 | Par 3
Hit-N-Hope
At 200+ yards from the back tee the 16th is another tough par at TGC. Aim your tee shot to the right side of the green here, as left is out-of-bounds. Balls will funnel to the hole from the right side. Don’t be long or left on this hole.
-
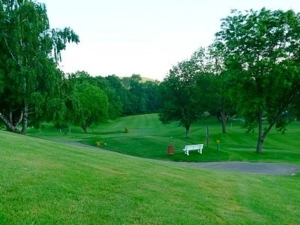
Hole #17 | Par 4
Designers Pride
A 90 degree dogleg left hole that needs a good drive to past the directional flag. The second sets up for a mid to long iron down the hill to a small green surrounded by mounds and bunkers. Walk off with a par and you've done well. Please ring the bell on left side of fairway when out of range on second shot.
-
Hole #18 | Par 5
Winding Creek
The drive needs to be beyond the sycamore tree to have an easy second shot over the creek. On approach, stay away from the lateral water hazard on left and woods on right. Anything can happen on this finishing hole as possible trouble surrounds every shot. Keep it in play and a birdie to finish is in your sights.


